Wheel bearings are crucial components of your vehicle, ensuring smooth rotation of the wheels and supporting the vehicle’s weight.
At T Autocare Takedown, we understand the importance of maintaining wheel bearings for safe and efficient driving. Here’s a comprehensive guide on how to check and replace your wheel bearings, with some unique insights to make the process easier and more effective.
Wheel bearings facilitate smooth wheel rotation and support the vehicle’s weight, crucial for safe driving and vehicle performance. Regularly checking your wheel bearings during routine auto maintenance or if you notice symptoms such as unusual noises, vibrations, or uneven tire wear is essential.
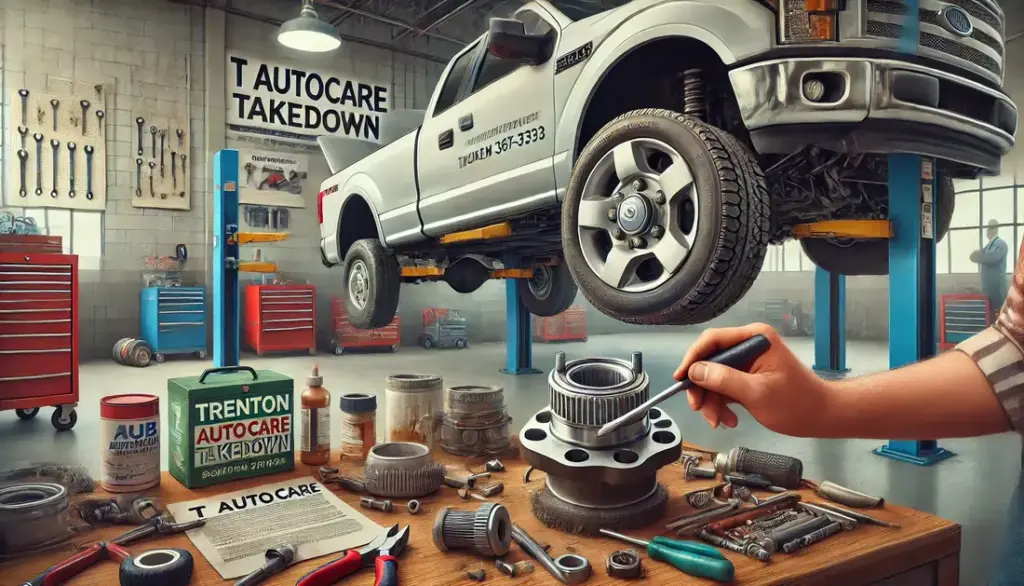
We Replace Wheel Bearings
Live in Broken Arrow? our auto repair shop replaces wheel bearings. Visit our Wheel Bearing Replacement Broken Arrow page to learn more.
Tools and Equipment Needed
Jack and Jack Stands
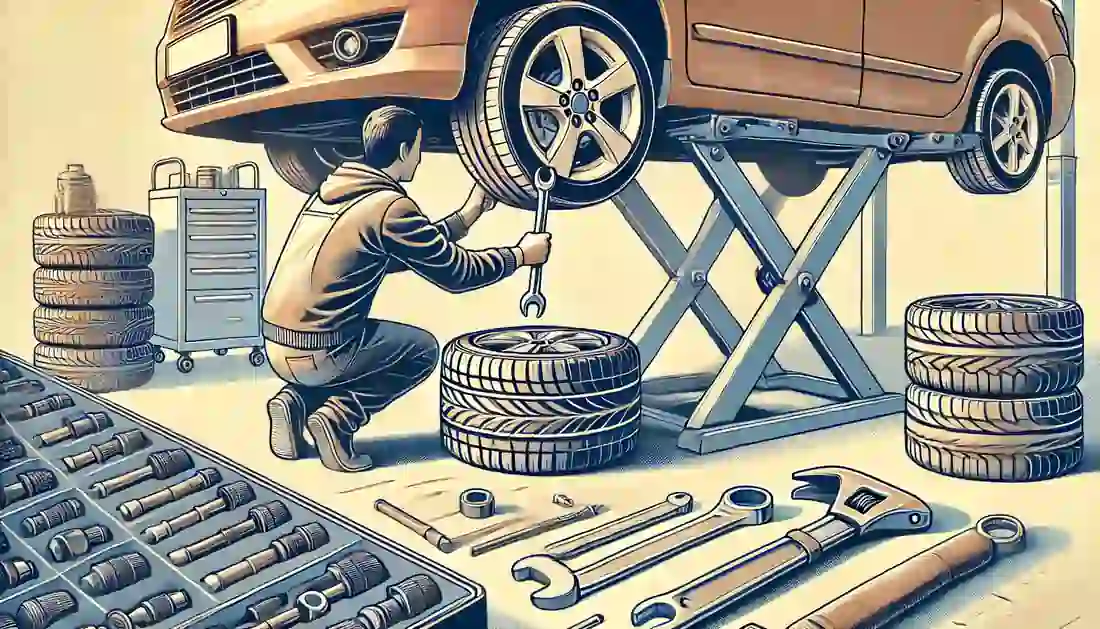
One of the most important tools for this job is a jack and jack stands. The jack allows you to lift the car off the ground, while the jack stands provide a stable and secure way to keep the vehicle elevated while you work. Never rely solely on the jack to hold up the car, as it can be dangerous if it fails. Always position the jack stands under the frame or designated lift points for maximum safety.
Lug Wrench
You’ll also need a lug wrench, which is used to loosen and tighten the lug nuts holding the wheel in place. A standard lug wrench is usually a cross-shaped tool or an L-shaped bar, both designed to give you the leverage needed to remove the lug nuts. Be sure to loosen the lug nuts before lifting the vehicle, as it will be much harder to do once the wheel is off the ground.
Socket Set and Ratchet
A socket set and ratchet are essential for removing various bolts and nuts throughout the process, such as those holding the brake caliper or hub assembly in place. Socket sets come in various sizes, so make sure you have the correct ones for your car. A ratchet, which is the tool that drives the socket, will allow you to loosen or tighten bolts without having to remove the tool after each turn, speeding up the process significantly.
Torque Wrench
When reassembling everything, a torque wrench is critical. This tool ensures that bolts are tightened to the correct specifications. Over-tightening or under-tightening certain bolts, especially on the hub or brake components, can cause damage or create safety issues. A torque wrench clicks or signals when the correct torque is reached, ensuring that everything is secure but not overly tightened.
Bearing Grease
You’ll also need bearing grease to lubricate the new bearings before installation. Proper lubrication is crucial to ensure the new bearings function smoothly and last as long as possible. Make sure to apply the grease generously to all the moving parts that come into contact with the bearing, as this will prevent friction and heat buildup.
Brass Drift Punch
A brass drift punch is used to tap out the old bearings and races without damaging the surrounding parts. Brass is softer than steel, so it won’t mar or damage the metal surfaces of the hub or other components. This tool is particularly helpful when you’re removing stubborn bearings that won’t easily slide out.
Hammer
A hammer is also an important tool for this job. It’s used alongside the brass drift punch to tap bearings or bearing races in and out. Be sure to use the hammer gently when necessary, especially during reinstallation, to avoid damaging any components.
Emery Cloth
For cleaning surfaces and removing rust or dirt, an emery cloth is very useful. This is a fine abrasive cloth that can be used to smooth out the surfaces of the hub before installing the new bearings. Keeping these surfaces clean and smooth helps the bearings fit snugly and operate without issues.
Bearing Race Driver (Optional)
Finally, while not always necessary, a bearing race driver can make installing the new bearing races easier. This tool helps press the race into place evenly, ensuring it sits flush with the hub. If you don’t have one, you can still get the job done with a hammer and drift punch, but the bearing race driver is a specialized tool that can speed up the process and reduce the risk of uneven installation.
Step-by-Step Guide
1. Preparation
Before you begin checking or replacing your wheel bearings, it’s essential to properly prepare. This includes gathering all necessary tools, ensuring you have a safe workspace, and reviewing the steps ahead. Proper preparation not only makes the job easier but also ensures your safety throughout the process. Always double-check that you have everything you need before getting started.
2. Lift the Vehicle
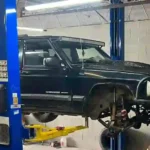
First, you need to lift the vehicle using a jack. Place the jack under the vehicle at the designated jack points, usually located near the wheels on the frame. Once the vehicle is lifted, secure it with jack stands. Jack stands are vital because they provide a stable and safe work environment. Never rely solely on the jack to hold up the vehicle, as it can be unstable. Position the jack stands carefully to ensure the car is fully supported and cannot shift or fall while you’re working underneath.
3. Remove the Wheel
Once the vehicle is securely lifted, the next step is to remove the wheel. Use a lug wrench to loosen and remove the lug nuts holding the wheel in place. Be sure to keep the lug nuts in a safe spot so they don’t get lost. After removing the lug nuts, carefully take the wheel off and set it aside in a safe location, away from your workspace. Removing the wheel gives you full access to the brake components and the wheel hub, which you’ll need to reach in order to check or replace the bearings.
4. Checking Wheel Bearings
Regularly checking your wheel bearings is crucial to ensure your vehicle’s wheels spin smoothly and safely. Worn or damaged bearings can lead to serious issues if left unaddressed, so it’s important to know how to check them properly. While you’re inspecting the wheel bearing, it’s a good idea to check for common brake issues you might encounter. The following steps will help you identify any potential problems.
5. Spin the Wheel
The first step in checking your wheel bearings is to spin the wheel. Once the car is safely lifted and the wheel is still attached, give it a spin by hand. As the wheel turns, listen carefully for any unusual sounds, such as grinding, humming, or a rough noise. These sounds typically indicate that the bearing is worn or damaged. A healthy bearing should allow the wheel to spin smoothly and quietly. If you hear any roughness or resistance, it’s a sign that the bearings may need to be replaced.
6. Wobble Test
Next, perform the wobble test to check for any excessive play in the wheel. To do this, grab the wheel firmly at the top and bottom, then try to move it back and forth. If the wheel wobbles or there’s noticeable movement, it could mean that the wheel bearing is failing. There should be very little to no play in the wheel when it is secure. Excessive movement suggests that the bearings are worn or loose, and further inspection or replacement is likely necessary.
Removing the Old Bearing (For Older Vehicles)
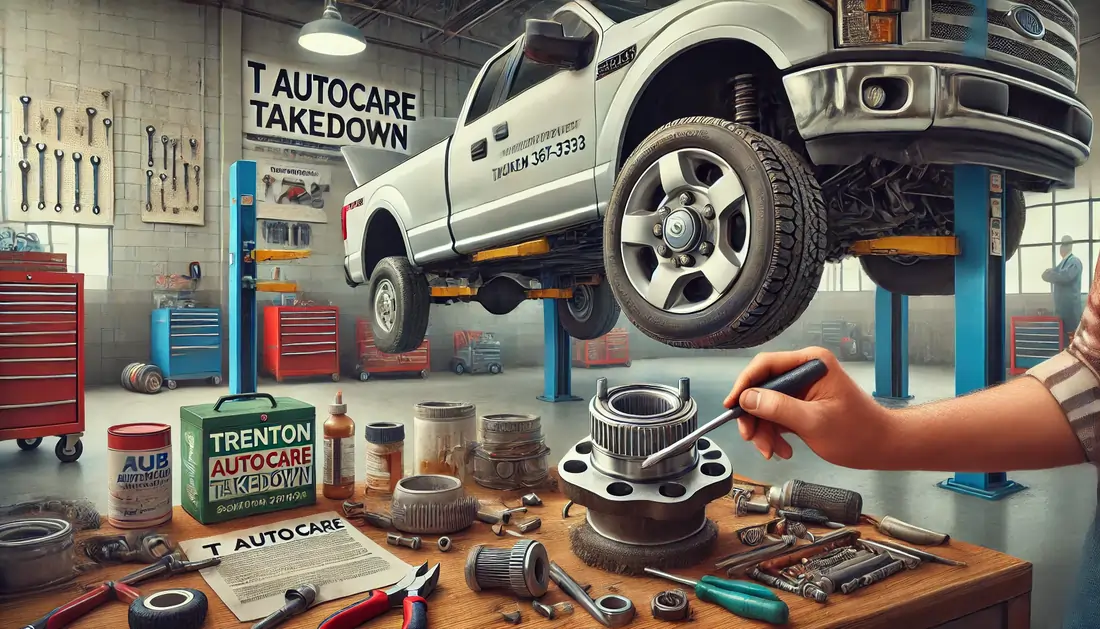
For older vehicles with serviceable wheel bearings, you’ll need to extract the old bearing from the hub after removing the hub assembly. To do this, use a brass drift punch and a hammer. Place the drift punch against the bearing race (the metal ring that holds the bearing balls or rollers in place) and carefully tap it out of the hub with the hammer. Brass is softer than steel, so using a brass drift punch ensures that you won’t damage the hub or spindle during the process. Take your time and work around the bearing evenly to avoid putting stress on one side. Once the old bearing is out, you’ll be ready to install the new one.
8. Disassemble the Brakes
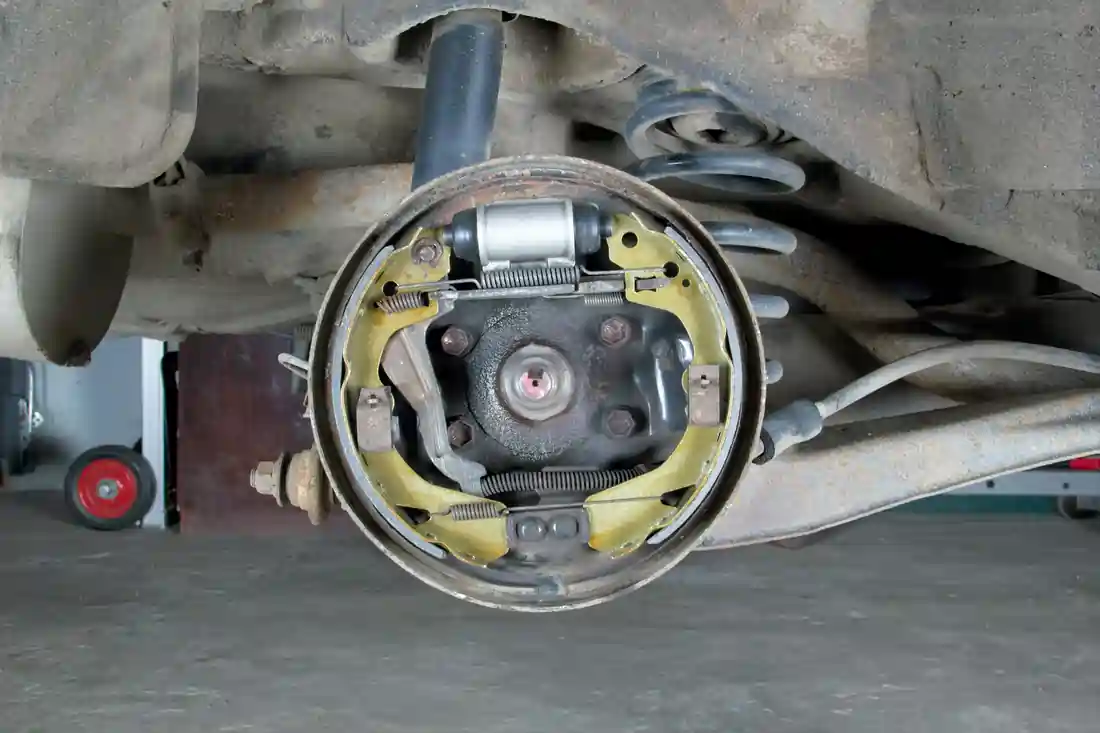
The first step in removing the old bearing is to disassemble the brakes. Start by removing the brake caliper, which is usually held in place by bolts. Once the caliper is off, carefully set it aside, ensuring that it is not hanging by the brake line. Next, remove the brake rotor. The exact procedure may vary depending on your vehicle’s make and model, so consult your vehicle’s manual if necessary. Taking off the brakes will give you clear access to the hub assembly, where the bearing is located.
9. Replacing the Hub Assembly (For Newer Vehicles)
In many newer vehicles, the wheel bearing comes as part of a sealed hub assembly. In this case, rather than extracting the old bearing, you’ll simply remove the entire hub assembly. Once you’ve unbolted the hub from the spindle or knuckle, you can take the old unit off and replace it with a new hub assembly. This eliminates the need to press or tap out the old bearings, making the process faster and more straightforward. Be sure to follow your vehicle’s manual for the specific steps and torque specifications when bolting the new hub into place.
While you have the wheel off, It’s worth inspecting the brake rotors to know when your brake rotors need replacing while you have the wheel off.
10. Extract the Old Bearing
After removing the hub assembly, it’s time to extract the old bearing. To do this, use a brass drift punch and a hammer. Place the drift punch against the bearing race (the metal ring that holds the bearing balls or rollers in place) and carefully tap it out of the hub with the hammer. Brass is softer than steel, so using a brass drift punch ensures that you won’t damage the hub or spindle during the process. Take your time and work around the bearing evenly to avoid putting stress on one side. Once the old bearing is out, you’ll be ready to install the new one.
Installing the New Bearing
Once the old bearing has been removed, the next step is to install the new bearing. Proper installation is key to ensuring the longevity and performance of the wheel bearings, so it’s important to follow each step carefully.
Clean the Hub
Before installing the new bearing, it’s essential to clean the hub assembly thoroughly. Use a degreaser or cleaner to remove any old grease, dirt, or debris. After cleaning, inspect the hub carefully for any signs of damage, such as cracks or excessive wear. If the hub is in good condition, use an emery cloth to smooth out any burrs or imperfections on the surface. This helps ensure the new bearing fits properly and functions smoothly. A clean, smooth hub is crucial for the proper seating of the new bearing races.
Install the New Bearing Races
The next step is to install the new bearing races. These are the metal rings that the bearing rollers or balls move within. Use a bearing race driver to carefully press the new races into the hub, ensuring they are seated flush and evenly. If you don’t have a bearing race driver, you can use a brass drift punch to gently tap the races into place. Be cautious to avoid damaging the new races during installation, as even a small imperfection can affect the bearing’s performance.
Pack the Bearings
Before placing the new bearings into the hub, they need to be packed with grease. Apply a high-quality bearing grease, either manually or with a bearing packer. If you’re doing it by hand, press the grease into the bearing until it comes through the opposite side. Proper lubrication is critical to the life of the bearings, as it reduces friction and heat during operation. Make sure to thoroughly grease all surfaces of the bearing to prevent premature wear.
Reassemble the Hub
Once the bearings are packed with grease, you can begin to reassemble the hub. Start by placing the new inner bearing into the hub. Afterward, install the wheel seal to keep dirt and moisture from entering the bearing. Carefully slide the hub assembly back onto the spindle, making sure it fits securely. Next, install the outer bearing and retaining nut, tightening it to the correct torque specification as outlined in your vehicle’s manual. Once the hub is reassembled, it’s ready for the final adjustments and testing.
Reassembly and Testing
After installing the new bearing, it’s time to reassemble the components and test the repair. This final stage ensures that everything is securely in place and that the wheel operates smoothly. Follow these steps carefully to complete the job.
Reinstall the Brakes
The first step in reassembly is to reinstall the brake components. Start by placing the brake rotor back onto the hub, ensuring it sits evenly and securely. Next, reattach the brake caliper over the rotor, fastening it with the appropriate bolts. Make sure everything is tightened according to your vehicle’s specifications, as loose brake components can affect both safety and performance. Double-check your work to confirm that the rotor and caliper are properly aligned and secure.
Reinstall the Wheel
With the brakes reassembled, it’s time to reinstall the wheel. Lift the wheel into place and align it with the wheel studs. Start by tightening the lug nuts by hand, ensuring they are threaded correctly and snug but not fully tightened yet. Once the lug nuts are in place, carefully lower the vehicle back to the ground, removing the jack and jack stands. The wheel should now be ready for final tightening.
Torque the Lug Nuts
Once the vehicle is back on the ground, use a torque wrench to properly tighten the lug nuts to the manufacturer’s specifications. This step is crucial, as improperly torqued lug nuts can lead to uneven wear, wheel wobbling, or even damage to the wheel assembly. Tighten the lug nuts in a star pattern to ensure even pressure distribution across the wheel. This will help prevent any issues with the wheel alignment and ensure everything is securely fastened.
Test Drive
After reassembling everything, the final step is to perform a test drive. Take the vehicle for a short drive, paying close attention to how the wheels feel and listening for any unusual noises. The wheel should rotate smoothly, and there should be no grinding, humming, or vibrations coming from the newly installed bearings. If everything sounds and feels normal, the new bearings are functioning properly. If you notice any issues, recheck the installation to ensure all components are correctly assembled and tightened.
If you’re experiencing strange noises or vibrations after replacing the wheel bearing, these could be signs of suspension problems.
Additional Tips
When replacing wheel bearings, following some additional tips can help ensure the job is done correctly and extends the life of the new components. Regular tire rotations are also essential to prevent uneven wear that can contribute to wheel bearing issues.
Here are some useful suggestions to keep in mind throughout the process.
Consult Your Vehicle Manual
Before starting the job, always consult your vehicle’s service manual. Each car may have specific instructions, torque specifications, or additional steps that must be followed. The manual provides crucial details, such as the correct tightening torque for lug nuts and bolts, ensuring the components are installed securely. Following the manufacturer’s guidelines is essential for both safety and proper performance.
Use Quality Parts
When replacing wheel bearings, it’s important to use high-quality parts. Investing in good-quality bearings and grease can significantly extend the lifespan of your repair. Low-quality or cheap parts may wear out faster and lead to further issues down the road. Always choose parts from reputable brands or OEM (original equipment manufacturer) replacements to ensure that your vehicle performs optimally and that the repair lasts longer.
Regular Maintenance
Keeping up with regular vehicle maintenance, like the benefits of regular fluid checks, will help prevent many common car issues. To prevent unexpected bearing failures, make sure to incorporate wheel bearing checks into your regular maintenance routine. While wheel bearings are designed to last a long time, they can wear out due to heavy use, rough terrain, or lack of lubrication. Regularly checking for signs of wear—such as unusual noises or wobbling—can help you catch problems early before they escalate into more serious issues. Routine maintenance not only keeps your vehicle running smoothly but also ensures your safety on the road.
Ensuring Your Engine’s Health
Checking and replacing wheel bearings is a vital part of vehicle repair that ensures safe and smooth driving. At T Autocare Takedown, our expert mechanics are ready to assist with any wheel bearing issues you may encounter.
Contact Us:
- Address: 1501 W Detroit St, Broken Arrow, OK 74012
- Phone: (539) 367-3738
- Website: T Autocare Takedown
Regular inspections and timely replacements can save you from costly car repairs and ensure your vehicle’s performance and safety. Trust our experienced team for all your auto repair and maintenance needs.
Useful Links on Car Wheel Bearings:
- O’Reilly Auto Parts – Bad Wheel Bearing Symptoms (O’Reilly Auto Parts)
- Hagerty – Instructions to replace your car’s front wheel bearings (Hagerty)
- RAC – What is a car wheel bearing? (RAC)
