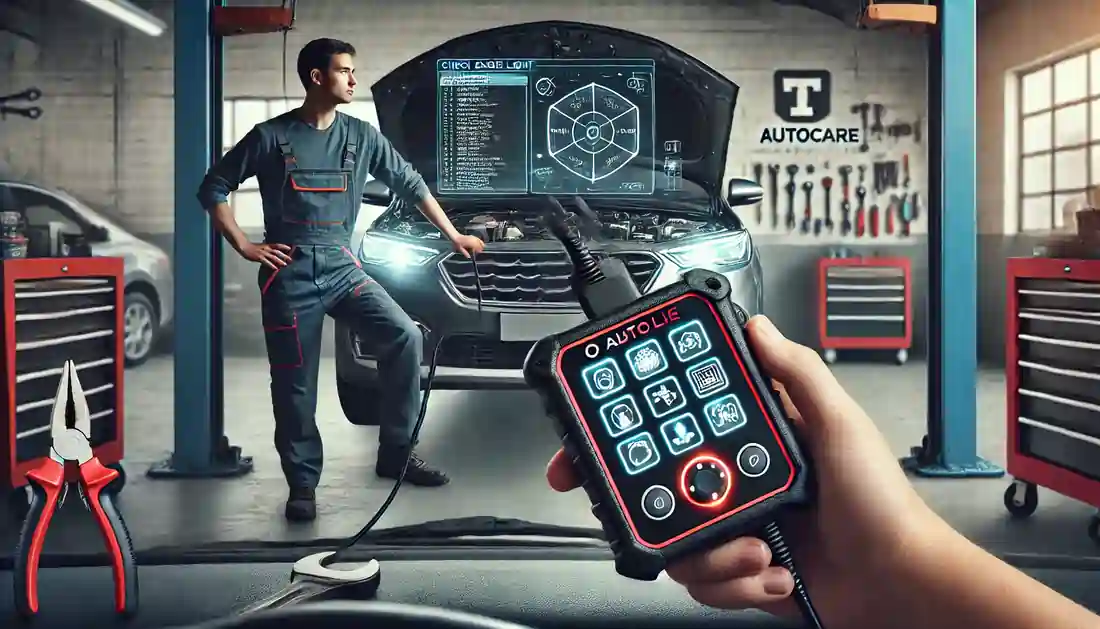
Diagnosing electrical issues in your car is crucial for maintaining vehicle performance and safety. Electrical problems can manifest in various ways, from a dead battery to malfunctioning lights, and can be a common challenge for any car owner. Understanding how to diagnose these issues can save you time and money and ensure your vehicle remains reliable.
Here’s a comprehensive guide to help you diagnose common electrical problems in your car, optimize auto repair, and improve your car service experience.
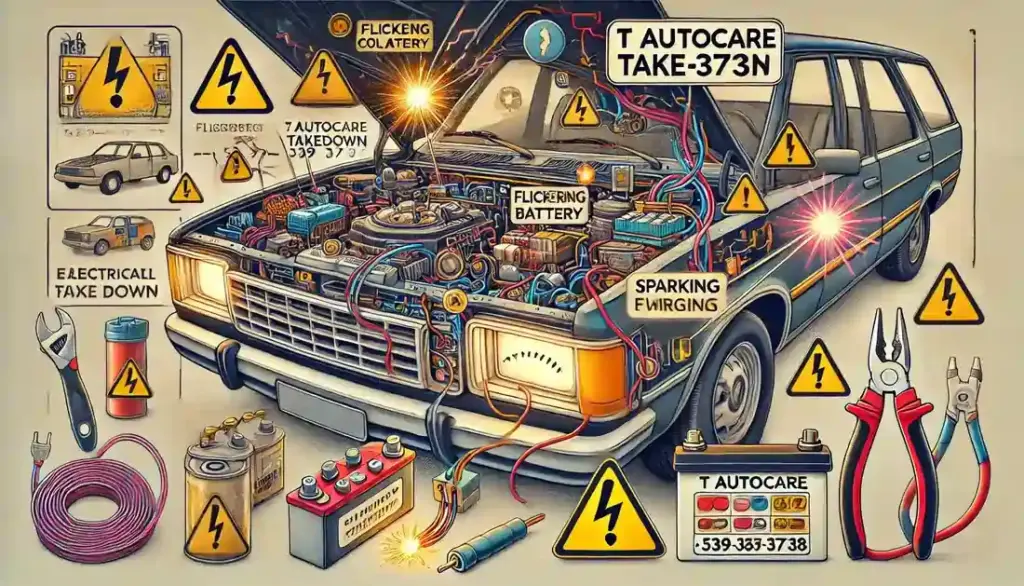
Planning Your Car Maintenance Budget: Electrical problems can be tricky and expensive if not fixed early. To avoid surprise costs, it’s smart to create a car maintenance budget. This way, you can plan for repairs, including electrical issues. Regular checks and small fixes now can save you big money later, keeping your car running smoothly.
Basic Tools and Equipment Needed
Before diving into the diagnostic process, gather the essential tools:
- Multimeter: To measure voltage, current, and resistance.
- OBD-II Scanner: To retrieve diagnostic trouble codes from your car’s onboard computer.
- Replacement Fuses: Keep a variety of amperage ratings on hand.
- Flashlight: For inspecting fuses, wiring, and electrical connections.
- Safety Gear: Gloves and safety glasses to protect yourself while working.
Preliminary Checks
- Visual Inspection: Begin with a thorough visual inspection. Look for loose, corroded, or damaged connections and wiring. Pay special attention to battery terminals, main electrical connectors, and ground connections.
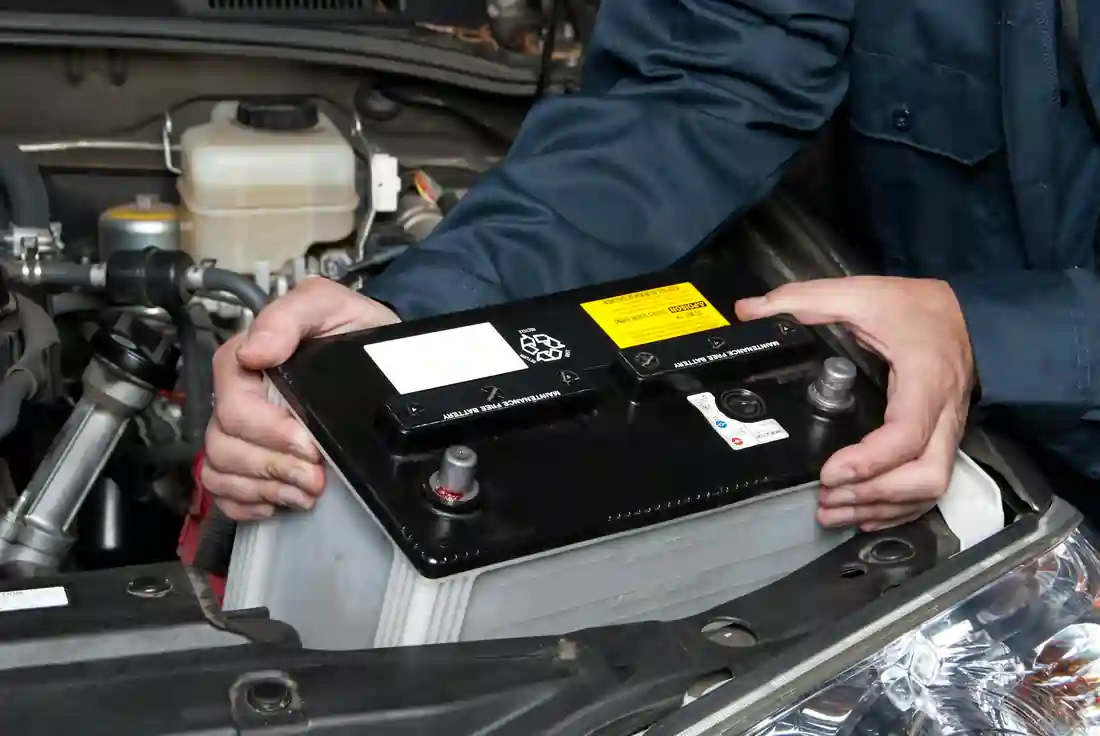
- Battery Check: Use a multimeter to measure the battery voltage. A fully charged battery should read around 12.6 volts. If the reading is significantly lower, it indicates a battery issue that might need recharging or replacement. In cases where the battery can’t hold a charge, consider a professional battery replacement service to ensure your vehicle starts reliably.
Common Electrical Problems and How to Diagnose Them
- Dead Battery: If your car won’t start, measure the battery voltage. If it’s low, recharge or replace the battery. Regular car maintenance can prevent sudden battery failures.
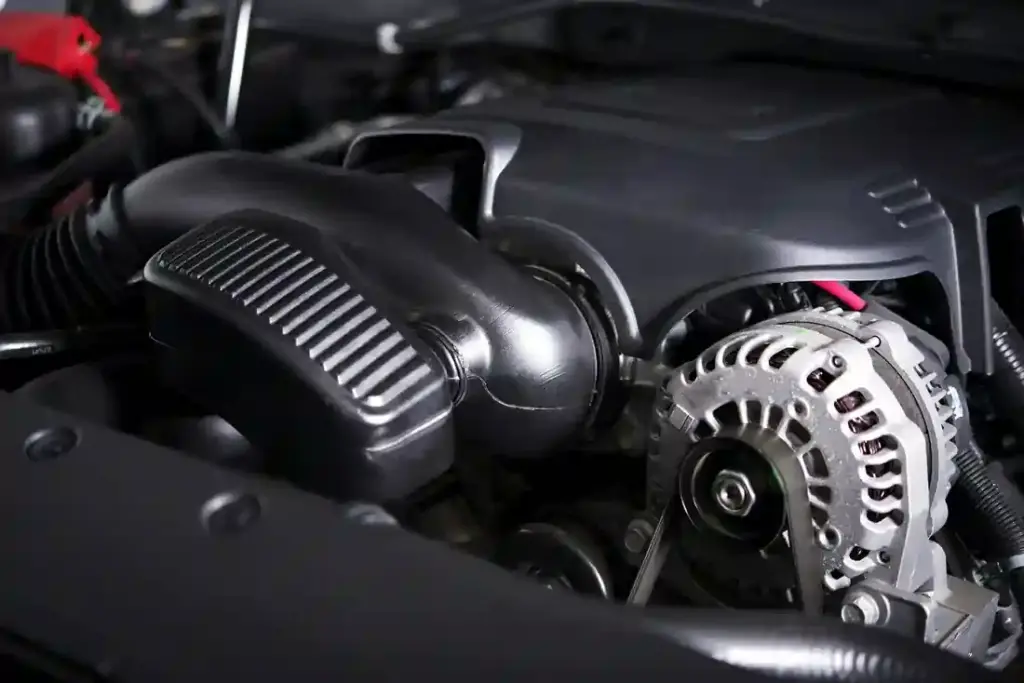
- Faulty Alternator: Dimming lights at idle that brighten with acceleration often suggest alternator issues. Test the alternator’s output to ensure it’s functioning correctly.
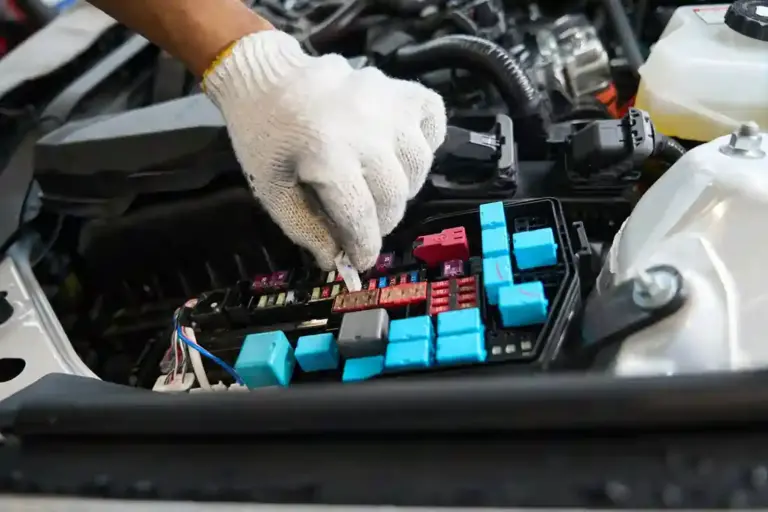
- Blown Fuses: Use your multimeter to test for continuity. Replace any blown fuses with new ones of the same amperage. Persistent fuse issues might indicate a deeper electrical fault.
- Malfunctioning Starter Motor: If you hear a clicking sound but the engine doesn’t start, the starter motor might be faulty. Testing and potentially replacing the starter motor may be necessary.
Advanced Diagnostic Techniques
- Using an OBD-II Scanner: Plug the scanner into your car’s OBD port to retrieve diagnostic trouble codes. These codes can pinpoint specific issues, making the troubleshooting process more efficient.
- Circuit Testing: Use a circuit tester or test light to check for proper electrical flow through components. This can help identify faulty circuits and components.
- Heat and Cold Testing: Determine if the problem is temperature-related. Use a heat gun to heat the suspected part while monitoring the electrical system. For cold-related issues, inspect the car in cold conditions to identify the problem.
- Blower Motor Check: If your car’s heating or air conditioning system isn’t blowing air, it could be due to a faulty blower motor. Electrical problems are often the root cause. In such cases, it’s essential to inspect the motor and wiring. If the issue persists, you may need a blower motor replacement to restore proper airflow to your vehicle’s climate control system.
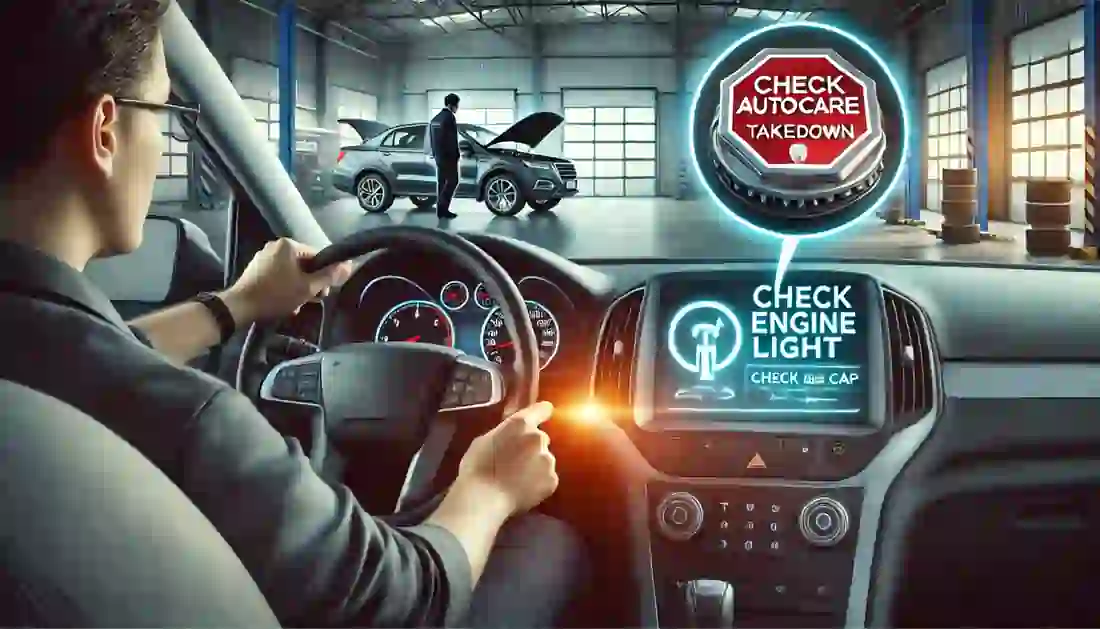
- Check Engine Light: If your check engine light is on, it could signal a range of electrical issues, from faulty sensors to wiring problems. Diagnosing the exact cause can be tricky without the right tools. To learn more about what the check engine light could mean and how to troubleshoot it, check out our guide on how to diagnose a check engine light for step-by-step help.
Unique Diagnostic Insights
- Inspecting Ground Connections: Poor ground connections can cause erratic electrical performance. Check for rusted or loose grounds and secure them to ensure optimal electrical flow.
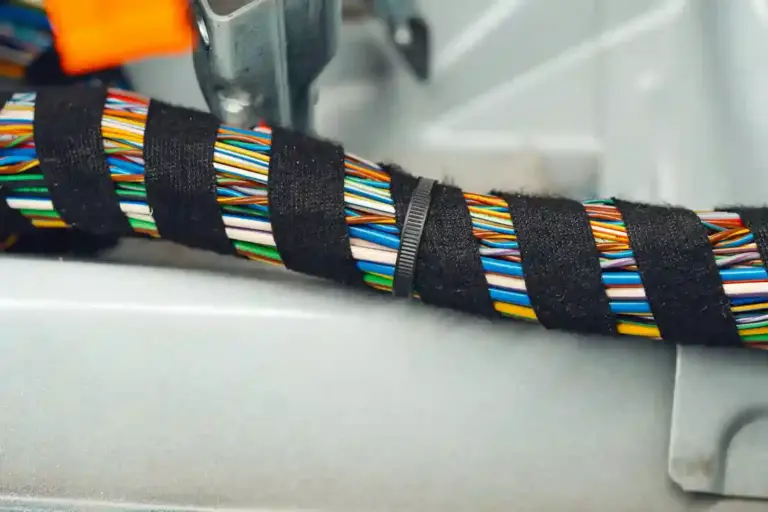
- Checking Under the Hood: Look for wiring harnesses that are stressed during engine vibrations or wires too close to hot components. These can cause intermittent electrical problems.
- Interior Wiring and Components: Inspect wiring near seats and other moving parts for pinching or damage. Improperly routed or clamped harnesses can lead to electrical issues over time.
Preventive Maintenance Tips
- Regular Battery Checks: Clean and tighten battery terminals periodically to prevent corrosion and ensure a reliable connection.
- Routine Visual Inspections: Regularly inspect all wiring and connections for signs of wear or damage. This can prevent many common electrical issues.
- Proper Installation of Aftermarket Accessories: Ensure that any aftermarket installations are done correctly to avoid introducing new electrical problems. Proper installation is crucial for maintaining the integrity of your car’s electrical system.
Keep Your Car Running Smoothly: Final Thoughts
Diagnosing electrical problems in your car doesn’t have to be daunting. With the right tools and a systematic approach, you can identify and resolve many common issues yourself. However, for more complex problems or if you’re unsure, it’s always best to consult a professional mechanic.
For expert auto repair Broken Arrow and car service, visit T Autocare Takedown at 1501 W Detroit St, Broken Arrow, OK 74012, or call (539) 367-3738. Regular auto maintenance and timely vehicle repair can keep your car running smoothly and safely.
Useful Links on Car Electrical Problems

