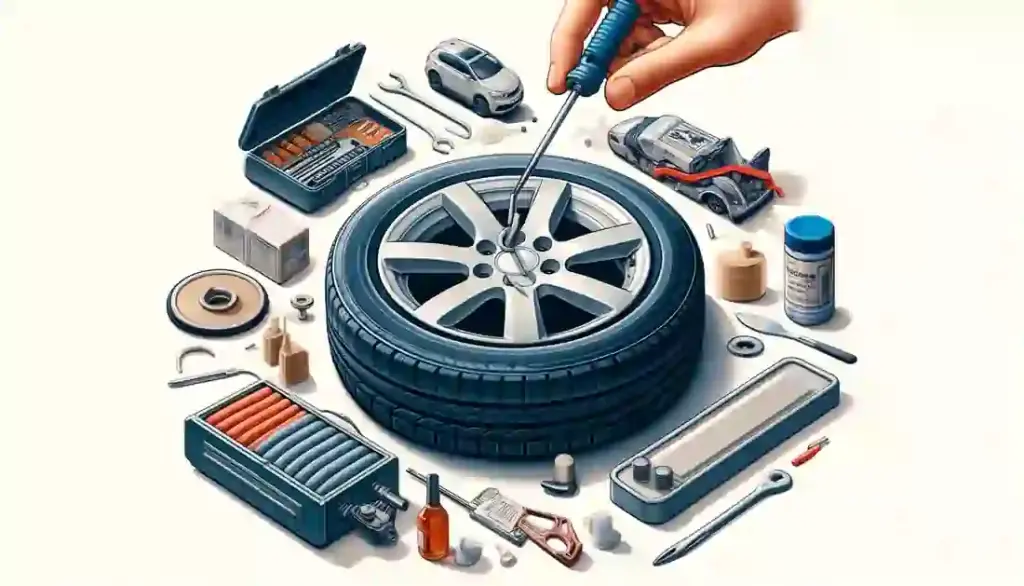
Patching a tire is an essential skill that can save you time and money.
At T Autocare Takedown, we want to ensure you have all the information needed to properly patch a tire. Here’s a detailed guide based on expert advice and industry standards.
Introduction
Understanding how to patch a tire is crucial for every driver. A flat tire can occur unexpectedly, and knowing how to address it promptly can prevent further damage and get you back on the road quickly. This guide covers everything from identifying the puncture to safely reinstalling the tire.
Tools and Materials Needed
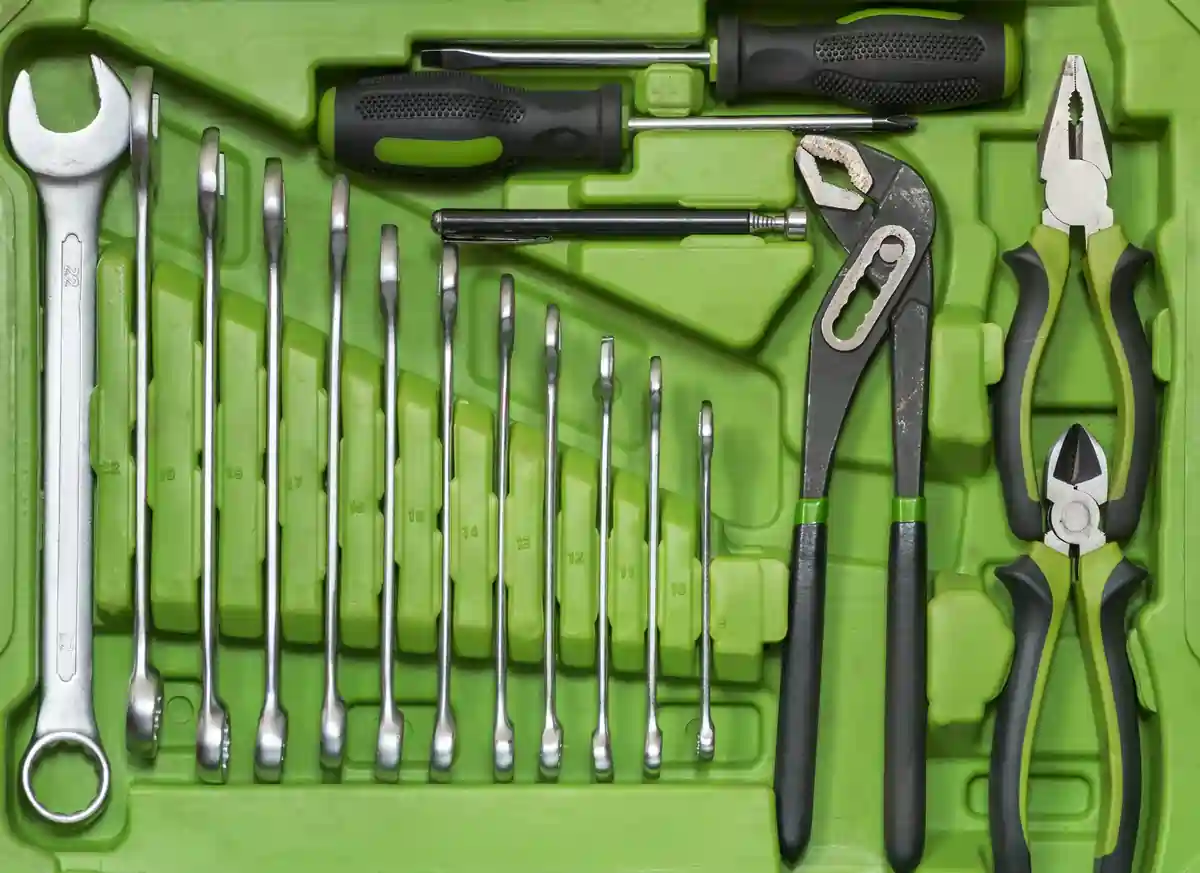
- Tire patch kit (including a plug insertion tool, a rasp, and plugs)
- Tire pressure gauge
- Jack and wrench
- Pliers
- Soap and water
- Clean cloth
- Rubber cement
- Lubricant or soapy water
Step-by-Step Guide to Patching a Tire
Patching a tire involves several meticulous steps to ensure a secure and lasting repair. Follow these steps carefully to properly patch a tire and get back on the road safely.
- Remove the Tire:
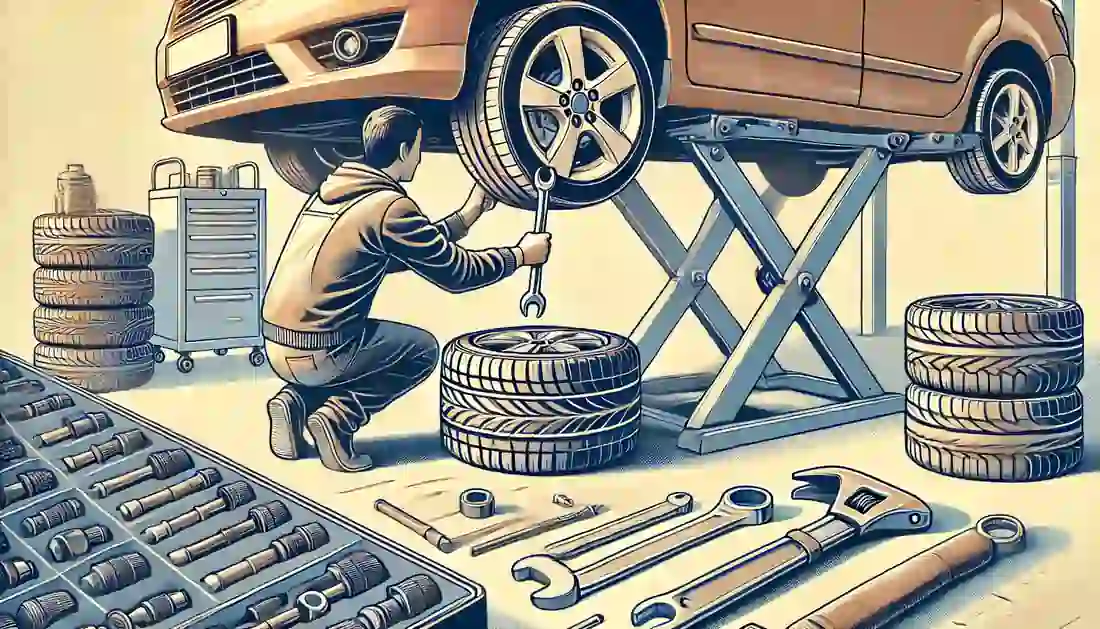
- Use a jack to lift the vehicle and remove the lug nuts with a wrench.
- Take the tire off the car and set it aside.
- Identify the Leak:
- Inflate the tire and visually inspect it for nails, screws, or other puncture-causing objects.
- Submerge the tire in water or apply soapy water to the surface and look for bubbles indicating the leak’s location.
- Remove the Puncture Object and Clean the Area:
- Carefully use pliers to remove the nail or screw.
- Use the rasp tool from the tire patch kit to clean and roughen the hole, making it easier to insert the plug.
- Prepare the Plug:
- Thread a plug onto the plug insertion tool.
- Apply lubricant or soapy water to the plug to help it slide into the hole.
- Insert the Plug:
- Push the plug into the hole until only a small portion remains visible.
- Remove the insertion tool, ensuring the plug stays in place.
- Trim any excess plug material flush with the tire’s surface.
- Apply the Patch (if using a patch-plug combo):
- For added security, apply rubber cement around the puncture and the patch.
- Press the patch firmly over the hole and ensure it adheres well.
- Reinstall and Inflate the Tire:
- Reinstall the tire onto the vehicle and secure it with lug nuts.
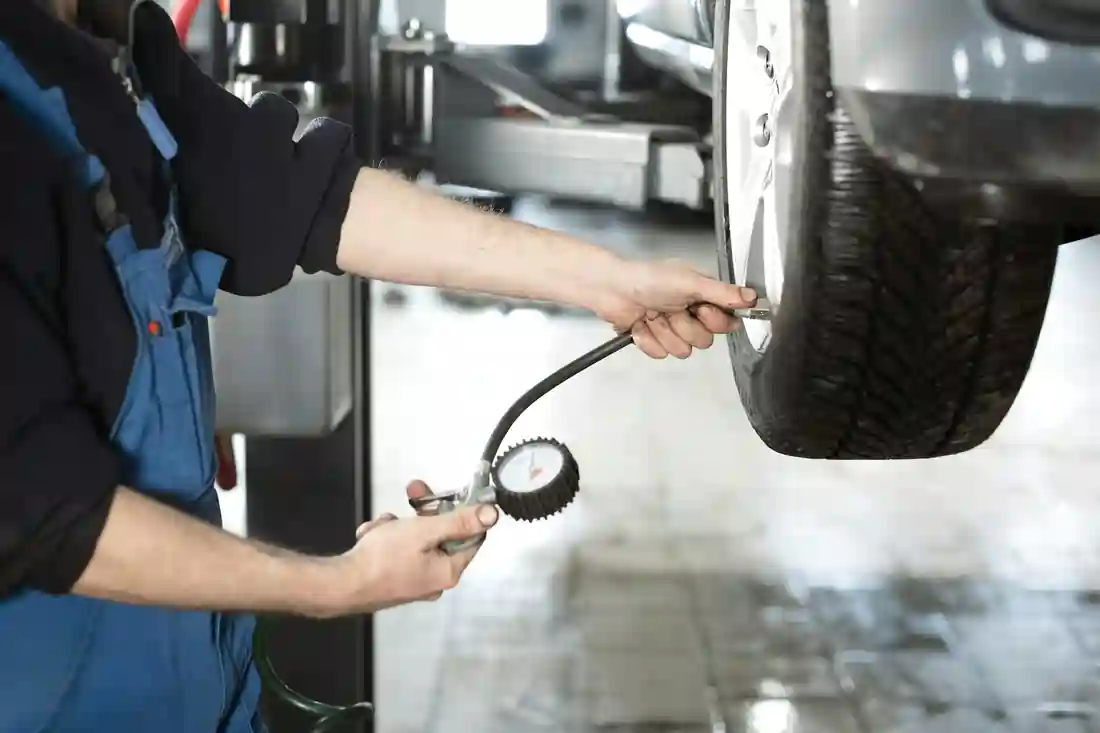
- Use a tire pressure gauge to check the pressure level and inflate the tire to the recommended PSI.
- Test for Leaks:
- Apply soapy water to the patched area and watch for bubbles.
- If no bubbles appear, the patch is secure.
By meticulously following each step in this guide, you can achieve a reliable repair that will hold up under various driving conditions. Remember, while patching can extend the life of a tire, it’s essential to monitor the patched tire regularly and replace it if further damage occurs.
Safety Precautions
- Always work in a well-lit, ventilated area.
- Use wheel chocks to prevent the vehicle from moving.
- Wear gloves and safety goggles when handling tools and chemicals.
Tips for Effective Tire Patching
- Only patch punctures in the tread area. Sidewall damage requires tire replacement.
- Avoid patching tires more than once to prevent weakening the tire structure.
- Regularly inspect patched tires to ensure the repair holds up.
Conclusion
Patching a tire can be a practical, cost-effective solution for minor punctures. However, it’s crucial to follow proper techniques and safety guidelines to ensure a reliable repair.
If you’re looking for a reliable Broken Arrow auto repair service to help with tire patching or any other tire-related concerns, our experienced technicians are here to assist you in keeping your vehicle safe and road-ready.
By understanding how to patch a tire properly, you can handle minor tire issues confidently. For more comprehensive auto care, visit our auto repair shop for professional assistance.
Contact Us:
- Address: 1501 W Detroit St, Broken Arrow, OK 74012
- Phone: (539) 367-3738

