A compression test is a simple tool that helps you check how well your engine is working. By measuring the pressure in each cylinder, you can find problems like worn piston rings, leaky valves, or a bad head gasket. This test gives you a clear look at your engine’s condition and helps keep your car running its best. Doing a compression test regularly can help you spot issues early, saving you money on big repairs later.
Learning how to do a compression test can help car owners take better care of their vehicles. If you notice engine misfires, loss of power, or poor gas mileage, a compression test can help find the cause. At T Autocare Takedown, we believe regular maintenance is key to keeping your engine running smoothly. This guide will show you how to do a compression test, giving you the skills to keep your car in great shape.
Understanding the Purpose of a Compression Test
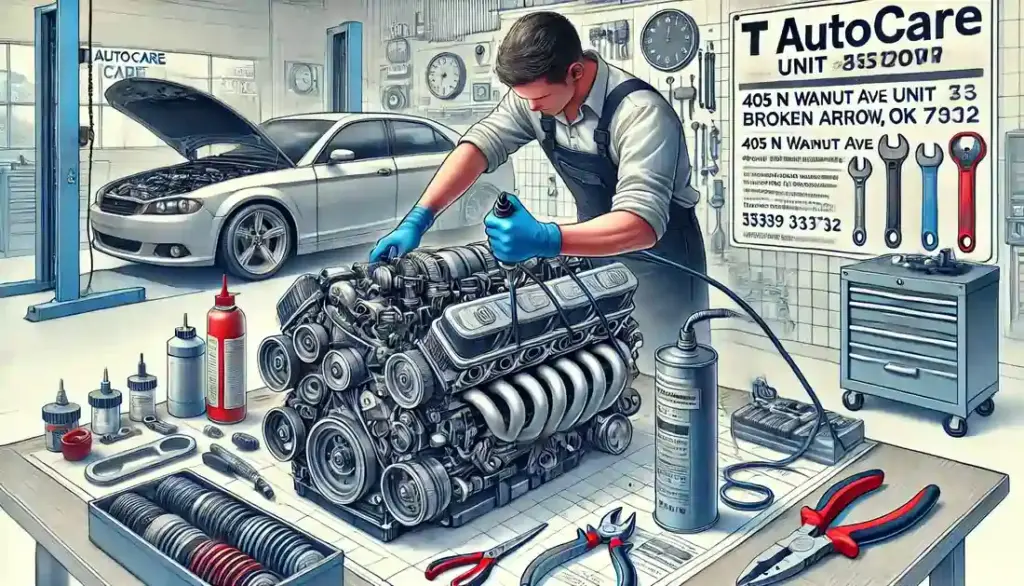
A compression test checks how well your engine is working inside. It measures how much pressure is made in the engine’s cylinders. This test helps find problems early, so you can fix them before they get worse. If your engine has issues, like not running smoothly or losing power, a compression test can show why.
For more details on keeping your engine in good shape, visit our page on engine repair.
When Should You Do a Compression Test?
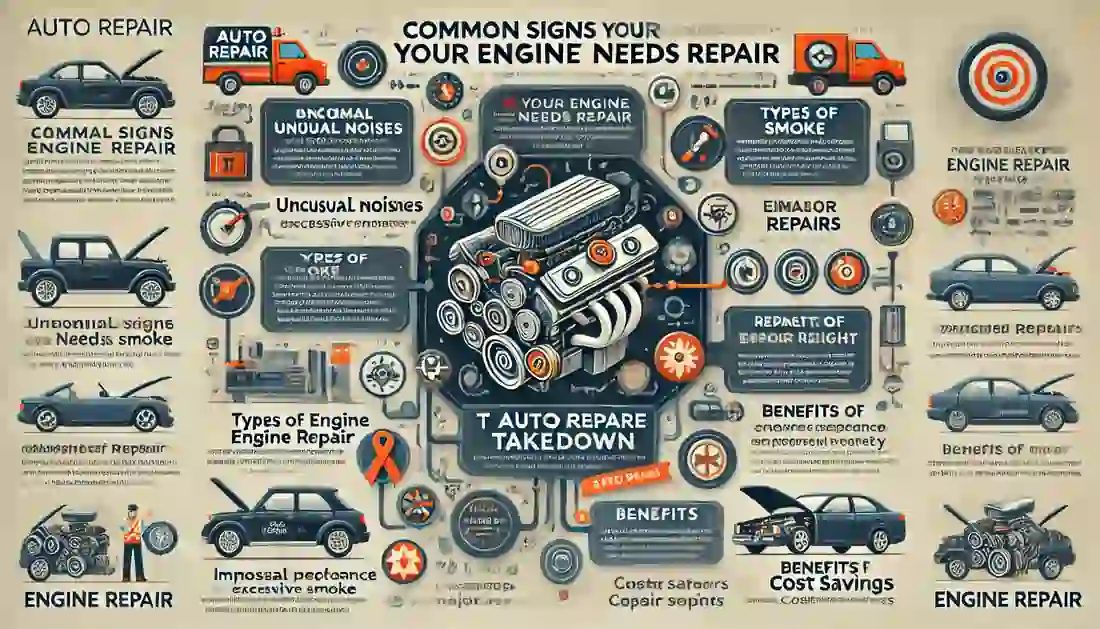
You should do a compression test as part of regular car care, especially if your car shows signs of trouble. Some common problems that mean it’s time for a compression test include:
- Misfiring engine: If your engine stutters or doesn’t run smoothly, a test can help figure out what’s wrong.
- Loss of power: When your car feels less powerful, this test can point to engine trouble.
- Bad fuel efficiency: If your car is using more gas than usual, it might be time for a test to see if the engine is causing the problem.
You can also learn more about regular car care in our article on saving money with car maintenance.
Tools You Need for a Compression Test
To perform a compression test, you’ll need the right tools. Here’s a list of the essential items:

1. Compression Testing Kit
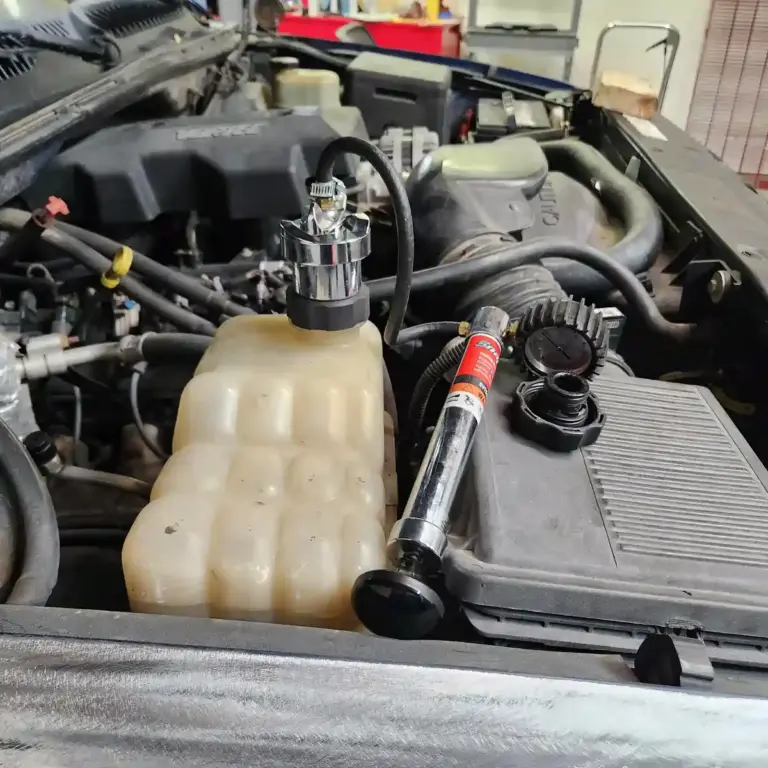
A compression testing kit usually includes a pressure gauge, tube, and different adapters to fit your engine. This kit is key to measuring the pressure in your engine’s cylinders accurately.
Check out our guide on essential tools every car owner should have for more must-have tools.
2. Ratchet and Socket Set
A ratchet and socket set helps you remove engine parts, such as the spark plugs, so you can perform the test. Make sure you have a variety of sizes to fit different components.
3. Spark Plug Socket
The spark plug socket is a special tool designed to remove and install spark plugs without damaging them. Since you need to take out the spark plugs to test the cylinders, this tool is essential.
Learn more about spark plugs and engine health in our post on the importance of regular spark plug replacement.
4. Wrench
A simple wrench will come in handy for loosening or tightening various bolts during the compression test. Make sure it’s the right size for your engine’s components.
5. Notepad and Pen
During the test, you’ll need to write down the pressure readings for each cylinder. A notepad and pen will help you keep track of these important numbers and compare them later.
Step-by-Step Guide
To successfully perform a compression test, you’ll need to follow a few crucial steps to ensure accurate results. In this section, we’ll break down the process step by step, from preparing the engine to recording the compression readings. Each step is critical for diagnosing potential issues, so take your time and follow the guide carefully. Let’s get started with the first step in performing a compression test on your vehicle.

Preparation for a Compression Test
Before you start the compression test, it’s important to prepare the engine properly to get accurate results.
1. Warm Up the Engine
First, run the engine until it reaches its normal operating temperature. A warm engine gives more accurate compression readings compared to a cold one. This step is crucial to ensure you’re getting the right measurements.
For more tips on maintaining your engine’s performance, see our guide on regular engine tune-ups.
2. Disable the Ignition System
Next, disconnect the ignition coil or remove the fuel pump fuse to stop the engine from starting during the test. This prevents any accidental engine startup while you’re working.
If you’re unfamiliar with disabling ignition systems, our guide on diagnosing car electrical issues might help.
3. Disable the Fuel System
For cars with fuel injection, it’s important to disable the fuel pump. You can do this by removing the fuel pump fuse or relay. This ensures no fuel is injected during the test, keeping it safe and accurate.
Performing the Compression Test
Once you’ve prepared the engine, you’re ready to start the compression test.
1. Remove the Spark Plugs
Use a ratchet and spark plug socket to take out all the spark plugs. Removing them allows the engine to turn over more easily, and it ensures that you’ll get accurate compression readings.
To understand more about spark plugs and their role in engine performance, check out our post on regular spark plug replacement.
2. Set Up the Compression Tester
- Insert the Adapter: Select the correct adapter for your engine and screw it into the spark plug hole of the first cylinder.
- Attach the Compression Gauge: Connect the gauge to the adapter securely to avoid air leaks. Make sure everything is tightly connected for accurate results.
3. Conduct the Compression Test
- Crank the Engine: Have someone crank the engine, or use a remote starter, to turn it over for about six compression strokes per cylinder. Each stroke gives the gauge a chance to measure the pressure in the cylinder.
- Record the Reading: Check the gauge and write down the highest pressure reading for each cylinder. Make sure to repeat this process for all cylinders.
For tips on how to check your car’s other systems, visit our guide on tire pressure.
Analyzing the Results
After you’ve recorded the readings, compare the numbers from each cylinder. In a healthy engine, compression readings should be within 10% of each other. If there’s a big difference, it might indicate a problem.
- Low Compression: This could mean worn-out piston rings, leaky valves, or a blown head gasket.
- High Compression: Carbon buildup or a restricted exhaust could cause this issue.
If you’re experiencing engine problems, you might want to consider engine diagnostics services for further help.
Reassembling the Engine
Once you’re done with the test:
- Reinstall the Spark Plugs: Put the spark plugs back in and reconnect the ignition and fuel systems.
- Recheck Your Work: Make sure everything is put back together properly before starting the engine again.
To learn more about basic engine maintenance, explore our article on common engine issues and how to prevent them.
Advanced Tips for Compression Testing
Once you’re comfortable with the basics of compression testing, there are a few advanced techniques that can improve accuracy and help you troubleshoot deeper engine issues.
1. Use Rubber Cone Adapters
For engines with recessed spark plug holes, a rubber cone adapter is an excellent tool. These adapters create a tight seal in hard-to-reach places, ensuring more accurate pressure readings.
Want to learn more about essential car tools? Check out our post on must-have tools for car owners.
2. Check for Leaks
If you notice low compression during the test, it might indicate an internal problem. Performing a leakdown test is a more advanced method to pinpoint the exact cause of low compression, such as worn piston rings or leaky valves. This test involves pressurizing the cylinder to find where air is escaping.
For professional assistance, our engine diagnostics services can help diagnose complex engine issues.
3. Document Your Findings
Keep a detailed record of your compression test results. By creating a comprehensive report, you can track your engine’s health over time. This will help you spot trends and identify problems early, before they become more serious.
For tips on long-term car care, explore our guide to preventative maintenance.
Conclusion
Performing a compression test is an essential part of routine vehicle maintenance that can save you from expensive repairs down the line. By regularly testing your engine’s compression, you can catch potential problems early—such as worn piston rings, leaky valves, or even a failing head gasket—before they worsen and lead to major engine damage.
This simple test gives you a clearer picture of your engine’s health and helps ensure your car continues to run smoothly and efficiently. By following the step-by-step guide above, you’ll be able to diagnose any issues early, keeping your engine in top condition and extending its lifespan.
For professional auto repair services in Broken Arrow, visit T Autocare Takedown.
Contact Us:
- Address: 1501 W Detroit St, Broken Arrow, OK 74012
- Phone: (539) 367-3738
Regular compression testing is a proactive step in understanding car maintenance that ensures your engine’s longevity and performance. Trust our expert mechanics for all your vehicle repair needs. Our dedication to excellence is why we are the preferred auto repair Broken Arrow shop.
Useful Links on Engine Compression Test
If you’re looking to dive deeper into engine care and maintenance, the following resources will help you understand more about compression testing and other important diagnostics. These guides and services provide valuable insights into maintaining your vehicle’s performance and identifying engine issues early
- Autozone – How to do an Engine Compression Test
- LiveAbout – Perform a Compression Test on Your Engine
- TechieScience – Engine Compression Test: A Hands-On Approach


